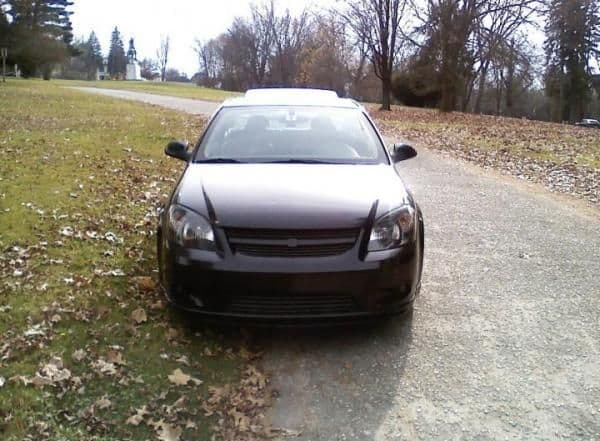
its just me wrote:I know there's a few people on here that have been requesting a how to for painting headlights. well, my passenger side light from ebay has arrived so i figured i could help everyone out. i did the driver side a few days ago and it turned out great!! try to bear with me though, this is only my second ever how-to so if you have any questions just ask.
first thing you obviously want to do is remove the headlight from the car. i have no pictures of this since i am using a back-up set. ok so tools for the job, a flat-head screwdriver, needle-nosed pliers, oven/hairdryer, a tool to remove hex screws, painters tape, and patience.
the second thing you want to do after poking your cars eye out is to remove all the bulbs and wires.
the big black ring around the headlight bulb can be a PITA to turn, with a little muscle just turn it counter clockwise and it'll pop right out.
now there are two ways to heat up the sealant in order to pull the lens off. the first method is a hairdryer which will have to be aimed into the high/low beam hole. this seems like it may be an easy, quick way to do it but it isn't. trust me, i tried. so i went with option two, the oven. i chose the oven method because it's easier to heat the sealant evenly plus it's a lot faster. i pre-heated the oven to 200 degrees and baked for about 10-15 minutes...
aluminum foil is optional. i used it simply because i didn't know if the sealant would make a mess, it didn't.
unfortunately i got so into my project that i forgot to take a picture while removing the lens. what i did was when the sealant was soft enough i took the flat head screwdriver and worked my way around the lens until i could pull it off [start at the corners] the sealant can be a bit stringy so try not to get it all over the place. i've read that some people will scrape the sealant off but then there's others who say save it and reuse it, which is what i did.
now you'll have to remove the three hex screws to release the chrome piece.
after everything has been pulled apart, you will be left with this...
the piece i circled in red, do not touch!! **note** the orange reflector and signal cover just pop out.
the next step is to tape off the areas you do not want to paint. i also chose to scuff up the "chrome" with 1000 grit sandpaper and add a touch of primer to help the paint stick better.
next step, paint...
my choice of paint, three coats of krylon fusion satin black. i used it on my interior and also my bowties and all is holding up well!!
after you're satisfied with your new paint job and all is dry, remove the tape
here is a tip for putting the signal light cover back on [if you choose] doing so will prevent the paint from getting scratched by the covers tabs when you slide them into place...
and finally, put it all back together. i put the chrome piece back into place and then put the lens into position and tossed it back in the oven for another 10 minutes or so. just long enough to soften up the sealant. when i took it out i worked my way around the lens pushing that and the clips back into place. after that i took a tube of clear sealant that i picked up at autozone and added a second layer of sealant around the edge for extra protection against leaking. this is opintional of course but it also wouldn't hurt.
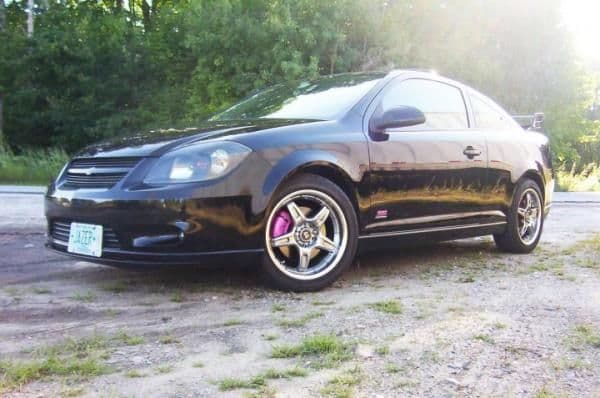
and finally, the finished product..
well there you have it, fresh painted headlights. hope this helps! any questions just ask.


blucavvy wrote:i like the pink
 Now I just wish the SS was too, lol.


